How To Install Cabinet Hardware With A DIY Template
I spent the last two weekends in the bathroom - and not for the reason you’re thinking. 😅 This time, I wrapped up the last big project in our kids’ bathroom makeover - installing cabinet hardware - and let’s just say, the pressure was real. One wrong move with the drill, and… goodbye, pretty cabinet.
If you’ve ever wondered how to install cabinet hardware the easy way, you’re in the right place. I’m sharing my go-to method (hint: it involves a simple template) so you can skip the stress and get perfectly placed knobs and pulls every time.
Bonus! Once you know how to install cabinet hardware like a pro, you can click over to the Kid's Bathroom Reveal and see the full transformation (and get inspired for your own project!).
Let’s get drilling.

In This Article
Tools & Materials To Install Cabinet Hardware
This post contains affiliate links for your convenience. Read the full disclosure.
- Sturdy piece of cardboard or card stock - I used a cereal box cut open.
- Pencil
- Something to measure with (I used the cutting mat that I use for sewing, but any measuring stick will do.)
- Utility knife, X-acto knife, or rotary cutter and something straight to cut along like a large book
- Drill and drill bit that your hardware calls for
- Small piece of wood
- Clamps

Your home doesn’t feel off because you need more stuff.
Grab my free guide to spot the 5 decorating mistakes that make a home feel scattered, mismatched, and not quite right.
How To Make A Cabinet Hardware Template
A template saves times and avoids crooked or uneven hardware - which is something you will notice every single day. 😬 You can easily make a reusable template that allows you to skip the stress of measuring each piece individually and get every pull or handle in the exact same place. You'll need one template for each different size drawer or door front that you have.
Step 1: Cut the cardboard
Using your cutting tool and measuring device, cut a piece of cardboard or sturdy card stock the same exact dimensions as your cabinet door or drawer front, or a portion of it.
For example, I wanted my drawer pulls to be centered on each drawer front. My drawer fronts have a small detail on them that creates a rectangle in the middle of the drawer. So I made a template to match the dimensions of that rectangle, not the entire drawer front.
Step 2: Mark the center
Find the center of your template by folding your cardboard in half both long and short ways (or use your ruler). Mark your center with a “t”.
Step 3: Mark the hardware holes
Mark your hardware holes. Your hardware should come with a diagram that tells you how far apart the holes are. Use that measurement, divided by 2, and measure that distance from your center point and mark your holes.

Double check the distance by holding your hardware up to your template to make sure it lines up exactly how you want it.
Step 4: Punch the holes
Punch your holes by tapping a nail through your cardboard.
Now you've got a cabinet hardware template that can be used again and again!
Pro tip: If you’re doing a big job and/or don’t want to DIY your template, buy a pre-made cabinet hardware jig.
You May Also Like


How To Install Cabinet Handles With A Template
Step 1: Mark the holes on the cabinet
Place your template on the drawer front, lining up each corner, and mark your holes on the cabinet with a pencil. If needed you can hold your template in place with painter's tape.


Step 2: Double check the holes
Double check your work. You will want to make sure each set of holes is level and also that the holes from one drawer to the next are level.

Step 3: Clamp the wood piece
Clamp a small piece of wood on the back side of your drawer before drilling your holes. This will ensure that you don’t tear off any of the surface of the cabinetry on the back side and create a really clean hole.

Step 4: Drill carefully
Use the correct drill bit size and go slowly. Drill halfway through, then finish from the back for a cleaner hole.
Step 5: Install cabinet hardware
Screw in your cabinet hardware from the back side of the cabinet or drawer.
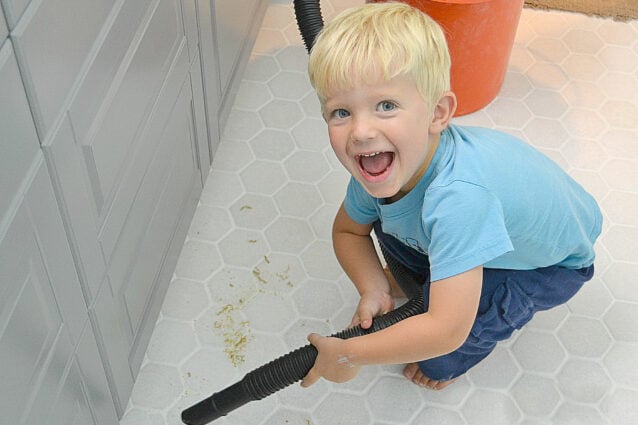
You might want to enlist the help of a cutie like this to help you clean up the shavings. #lovethiskid
And that’s it! Now you have nice even and straight cabinet pulls with minimal measuring!

You've Got This!
See? Installing cabinet hardware doesn't have to be scary. With a simple template and a little confidence, you can totally do this.
And if this project has you feeling inspired, don't stop here! Come take at peek at our full Tour Our Home & Our DIY Home Decor Projects - you'll find tons of budget-friendly upgrades and real-life ideas to get you going!

P.S. What if I told you there's a whole new (and way easier) way to decorate your home—without the overwhelm, indecision, or endless Pinterest scrolling.

Inside my online decorating program, Style Your Way Home, I'll walk you through the process of discovering and defining your decorating style, creating a home decor plan, and show you how to apply it in any space so each room is unique while maintaining a cohesive look that feels like YOU! - When you join now, you'll get direct support from me... it's like having a design BFF in your back pocket!
