West Elm Inspired Notice Board
Today the West Elm Knock off series continues. Last month we shared 5 West Elm knock offs for the outdoors, and today we are back with 5 DIY projects that will have your home looking beautiful and more organized!
Teaming up with such a talented group of ladies is so much fun!
First I’ll show you how I made this West Elm inspired notice board in less than an hour and then be sure to visit my gals to find out how each one of them recreated a West Elm look to add to the organization of their space. You’ll find links to each one at the end of the post.

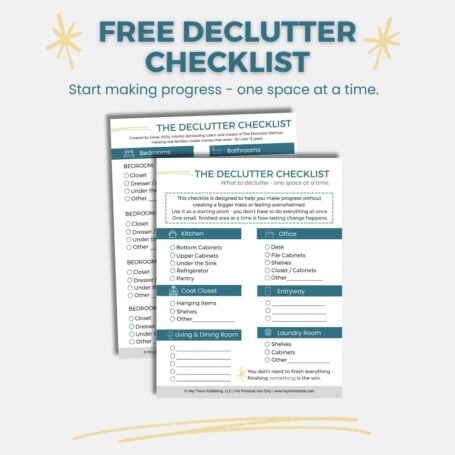
Feeling Stuck Or Overwhelmed By Clutter?
This free checklist helps you figure out exactly what to declutter - one space at a time - so you can make progress without creating a bigger mess.
I’ll admit that there is a spot on my kitchen counter that has turned into a pile of crap. I desperately needed a place to clip the important stuff and toss or file the rest. This is going to be the perfect spot to keep my to-do list and party invites and keep them off of the counter.
I was able to complete this project for less than $10 in less than an hour.
Supplies For DIY Notice Board
This post contains affiliate links for your convenience. Read the full disclosure.
- Wood underlayment or other thin wood
- Metal clipboard clips
- Painters tape
- Short screws
- Picture hanging wire
- Jig saw
- Yard stick or measuring tape and a pencil
- Clamps
- Safety glasses (you only get two eyeballs!)
- Drill

How To Make A Notice Board
Step 1: Cut your board
Cut your board to 17 ¾ x 10 ½ inches.
It is best to draw your line and use painters tape just along the edge covering the side you want to keep so that the wood doesn’t splinter. Run the jig saw just to the side of the tape. Don’t touch the tape with the saw or it will splinter.

Step 2: Round the corners
Once you have your rectangle round the corners by tracing the edge of your painters tape at each corner with the good side of the wood facing down. Then cut with your jig saw. You will have a few splinters, but since the good side is facing down, the part that you will see should have a nice clean edge.

This next part threw me for a loop. I tried a few different things and finally settled on using screws. Aren’t you glad it’s my job to figure out what works and make all of the annoying mistakes for you?
Step 3: Create a way to hang your notice board
In order to attach the clips with screws you will need to add another layer of underlayment so that your screws don’t go through. This will also act as a way to hang your notice board.
So cut a strip of your wood. Then screw 2 short screws into the back, but not all the way. Wrap your picture wire and then screw in a little bit more to clamp the wire down.

Step 4: Attach the clips
Find your center point and attach the middle clip in the center using 2 short screws. After that I just eyeballed the other 2 to make sure they were even. You could do the math, but I pretty much avoid math like the plague.


Boo-ya! Add some important notes to get them off of the counter or your desk!

Ready for more organizing projects! Be sure to visit my friends and check out their DIY projects!
PLACE OF MY TASTE – WEST ELM DIY DEEP PICTURE LEDGE
MAKING HOME BASE – WOOD AND PIPE ENTRYWAY STAND
JEN WOODHOUSE –WEST ELM INSPIRED RECLAIMED CUBBY SHELF
HOME MADE BY CARMONA – ACRYLIC SIDED SHELF KNOCK OFF


P.S. Want 30 step-by-step tasks to completely declutter your home?
In my online course, The Declutter Method, you'll learn the simple mindset and efficiency hacks, plus get a step-by-step decluttering plan that will have you decluttering entire spaces without making a bigger mess and burning out. Join the hundreds of students who have made huge progress and seen big results!
